
Beginners Guide To Build Your Own PC
Everyone has a dream to build their own PC. Even I used to have a dream to build my own PC. But, I used to think it was a difficult task. Undoubtedly, it is challenging and time-consuming for beginner individuals. But that is not how things have to be because you have Romeda with you. With our guidance you can build your own PC and use it. The stages involved in creating a PC, the components required, and the steps that you need to follow to finish the build will all be covered in this article. Why do you wait?
What do you want to build?

Knowing precisely what you intend to produce is typically the best choice to begin when creating something.
You may be an individual who utilizes a computer for daily tasks, a student conducting research and editing, or an avid gamer in pursuit of a custom gaming PC.
You will be able to determine the hardware and performance requirements and avoid paying for unnecessary features once you have determined the type of PC you desire.
What can you afford?

The amount of money you spend on computer parts might vary substantially, so set a reasonable budget ahead of time.
Expect to pay more if you want the highest potential performance from all of your PC components. Faster processors cost more than slower ones, while newer generations of memory and storage with more capacity tend to cost more than older ones with less.
Since memory and storage account for a significant portion of the cost of a new computer, constructing your own PC allows you to economize on these components if you so desire. While the cost of RAM and SSD increases with the amount of space they provide, they might be less expensive than purchasing pre-installed components, which are frequently insufficient and must be replaced rapidly.
What hardware components will you need?
For each PC build, you need the following five categories of hardware:
- Motherboard
- Central Processing Unit (CPU)
- Memory (RAM)
- Storage (SSD)
- Case, Fans, and Power Supply
Even while they won’t affect performance as much, other parts like the casing, keyboard, mouse, power supply, monitor, and operating system (OS) should still be part of your total budget.
1. Motherboard
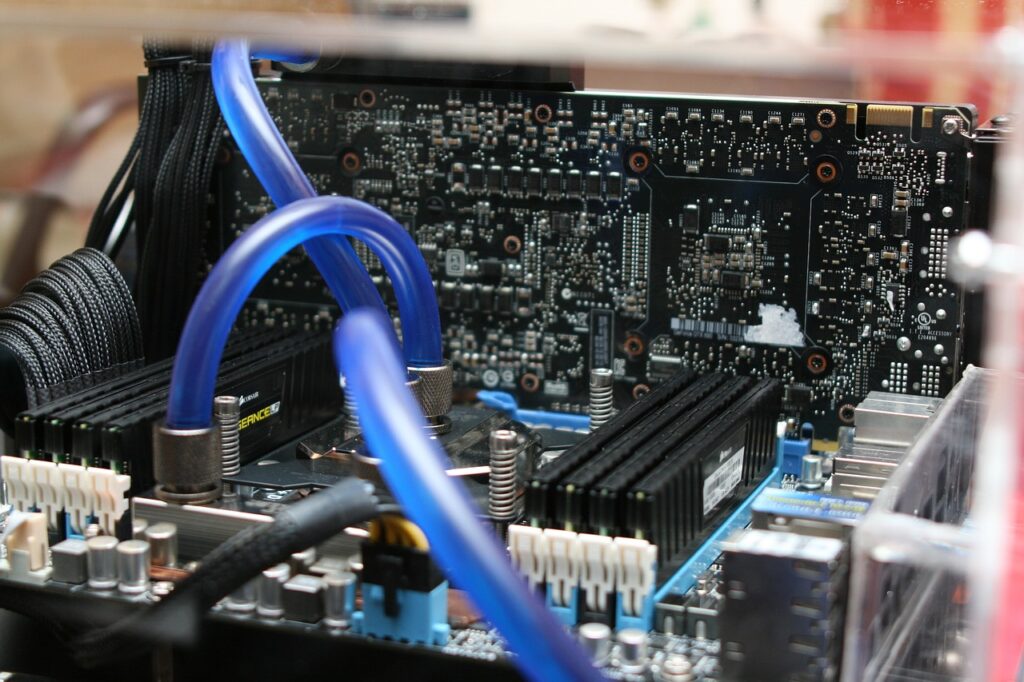
Since the motherboard serves as the circuit board that integrates your hardware, power supply, graphics and stuff, it is wise to acquire it as the initial component. Additionally, the motherboard dictates which additional hardware components the computer may employ. Alternatively stated, not all components are compatible with all motherboards.
The motherboard determines various aspects of a computer, including the processing capacity, memory technology (e.g., DDR5, DDR4, DDR3), storage form factor (mSATA, m.2, or 2.5 inches), and storage interface (e.g., SATA or PCIe).
2. Central Processing Unit(CPU)
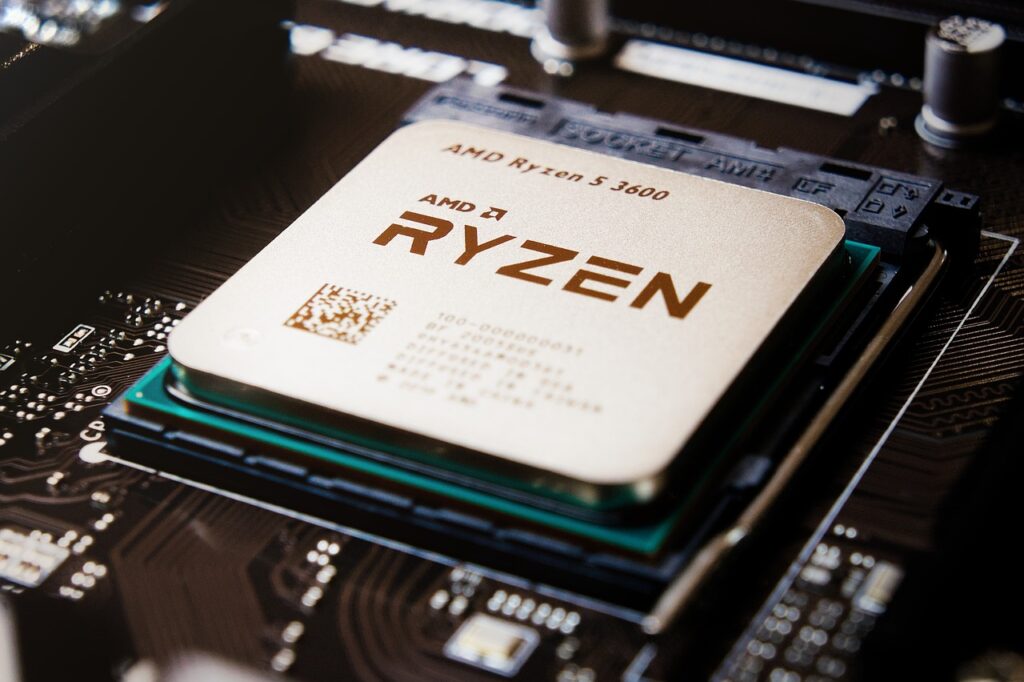
Your computer’s CPU, which is its engine, decides how well the system performs as a whole. The instructions and processing capacity that power all of your computer’s functions are provided by the CPU.
Consider gigahertz (GHz) when selecting a CPU; the greater the GHz, the quicker the processor. However, increased CPU frequency (GHz) corresponds to greater energy consumption, which in turn raises system temperatures and requires enhanced ventilation or heat dissipation. This undoubtedly necessitates the incorporation of a cooling system into the structure.
3. Memory (RAM)

One of the quickest and most economical methods to enhance the performance of a computer is by adding memory (RAM).
RAM provides your system with additional available space to temporarily store data that is being used, allowing you to perform multiple things at the same time, such as having several apps open or surfing the web without experiencing high load times.
Choosing the optimal RAM for your system requires two considerations: compatibility and the amount of RAM your system can accommodate. First, determine the type of module your system uses based on its form factor (in general, desktops use UDIMMs, laptops use SODIMMs), followed by the memory technology (DDR5, DDR4, DDR3, etc.) it supports.
Second, the memory capacity of your system is limited. You’ve wasted 48GB if you purchase 64GB of RAM but your system only supports 16GB. Additionally, not all users require an equivalent quantity of RAM; determine how much RAM your computer will require.
4. Storage (SSDs)
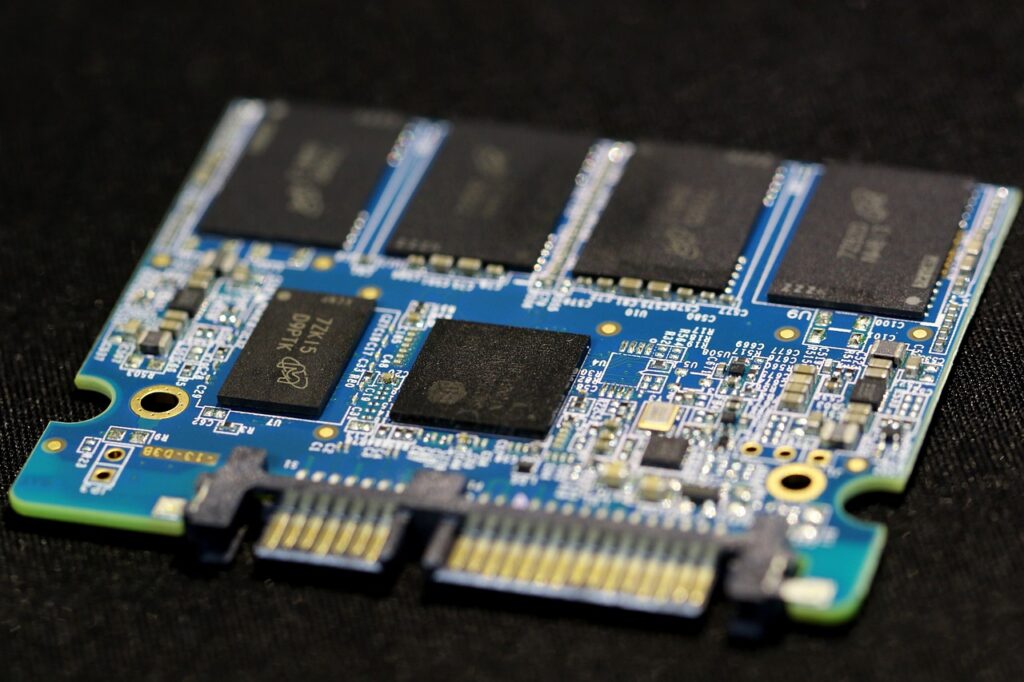
The information and data of a user are stored on a storage unit, which can be an SSD or a hard disk drive (HDD). In contrast to HDDs, which have historically offered greater capacity at a premium price point, SSDs have effectively discontinued them by operating at an average speed of six times speedier and consuming ninety times less energy.
5. Case, Fans, and Power Supply
The necessary casing, fan, and power supply will also be determined by the model of personal computer you are constructing. For instance, when constructing a high-performance workhorse, a dependable power source is required to ensure its operation.
Additionally, a case with effective interior ventilation and blowers to remove hot air that could cause system damage is required.
Zip ties are quite useful for handling all of the cables inside your setup. Consolidating cables also enhances ventilation.
How do I build a PC?
The build is where things truly start to get fun!
- Before you start.
- Add the hardware.
- Install memory.
- Install the SSD.
- Test the system.
Before you start
Create a wide workspace to keep your build organized – it’s annoying to be unable to discover what you’re looking for!
Wear an electrostatic discharge (ESD) wrist strap or ground yourself by contacting an unpainted metal surface to avoid static electricity, and operate on concrete floors rather than carpeting if possible. Static energy is one of the few ways that hardware can be harmed.
Keep a can of compressed air nearby to blow away any dust or fine debris from the interface, especially while installing the processor, memory, and SSD.
1. Add the hardware
First, install the processor and power supply on the motherboard, then place it in its case.
Part installation and assembly are straightforward, however errors are possible. We recommend that you examine the manuals for each component for specific instructions.
2. Install memory
RAM is the most easy component to add when building a PC.
Find the memory slots on the motherboard.
Keep your memory modules to the side to prevent contacting the chips and gold pins.
Align the module’s notches with the ridge in the slot, then press it firmly into place until it snaps.
While pressing, keep in mind that a module requires around 30 pounds of pressure to be fully installed.
3. Install the SSD
Installation will vary depending on the form factor of the SSD you selected (2.5-inch, mSATA, or M.2).
Refer to your hard drive’s owner’s handbook for installation instructions.
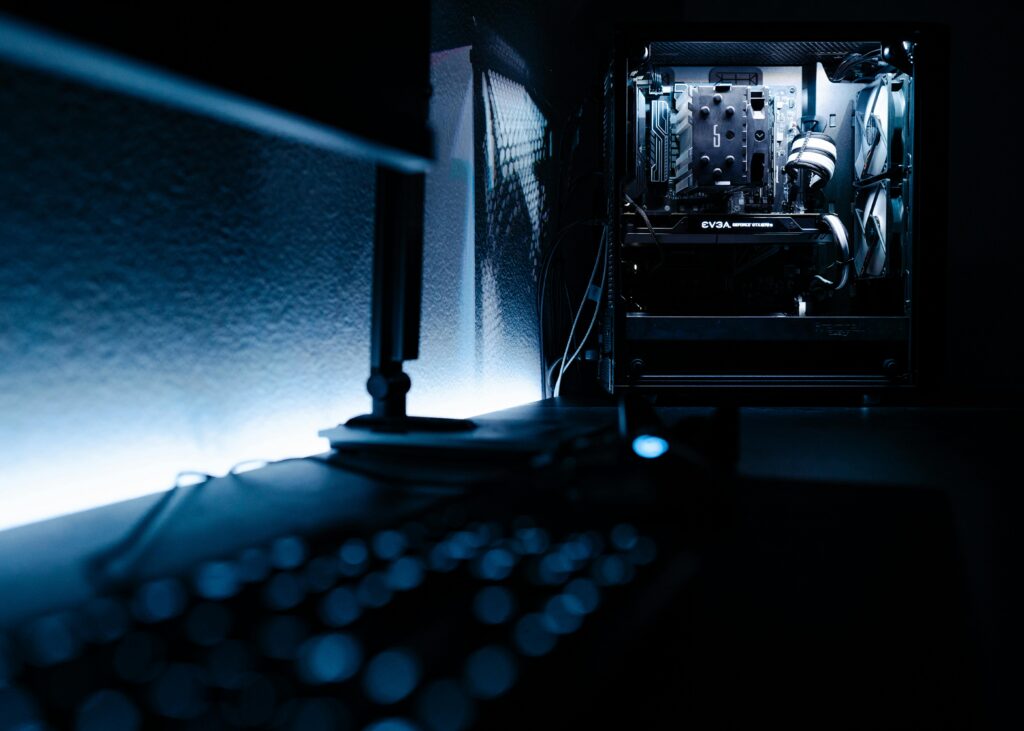
4. Test the system
Once your system is assembled, it’s time to press the power button!
Check that your display and keyboard are connected, and if everything works properly, a screen will appear allowing you to enter the system BIOS.
If you have an operating system on a disc or flash drive, insert it into the proper drive, boot up, and install it. Congratulations, you’ve just created your own PC!